Reference
Introduction
IMS VISION is a tool that allows you to automatically select keywords for images. To use IMS VISION, you need to follow the link (https://vision.imstocker.com/) and follow the instructions.
Login and registration
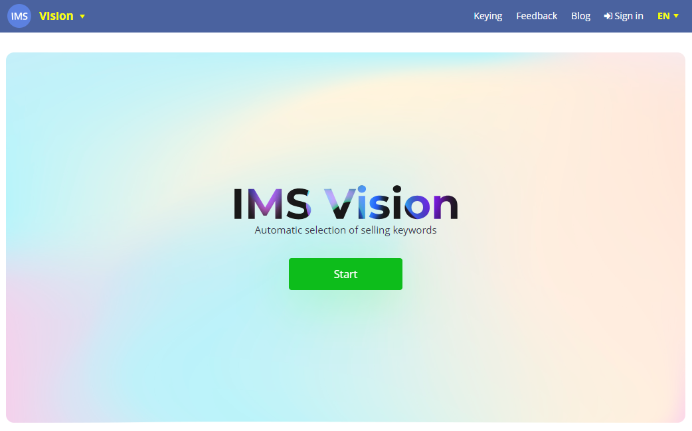
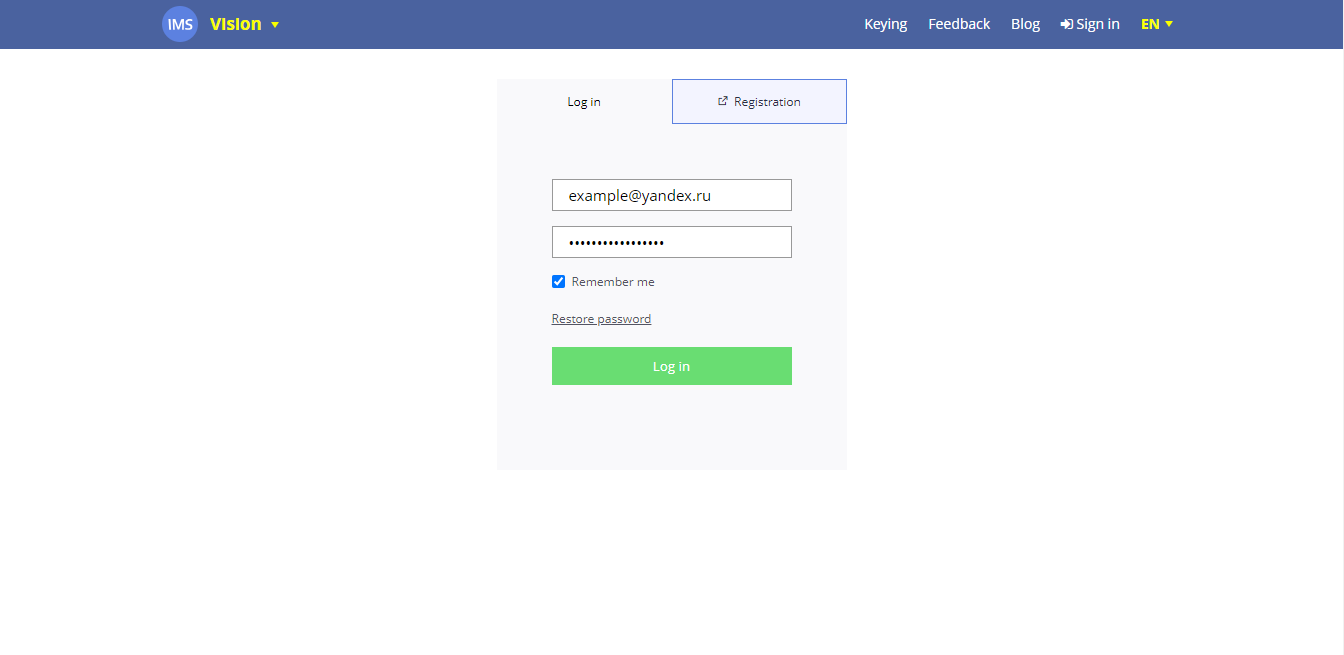
In order to start using the system, click on the "Start" button in the middle of the screen or on "Sign in" in the menu section. An authorization page will open where you need to enter your username and password. If you are not yet an ImStocker user, you can register by clicking on "Register". Please don't forget to confirm your email, otherwise you won't be able to use IMS Vision. If necessary, you can reset your password)
Keywording
File upload
After successful signing in, click on "Keying" in the menu. A page will open that will become your desktop) Click on the "Select file" button and select one or more images (JPEG / JPG, PNG, SVG, EPS are supported) for which you want to search for keywords. For video recognition (MOV, MP4, AVI, MPG) you can use our application ImStocker Studio. Detailed information about integration with IMS Vision can be found here.
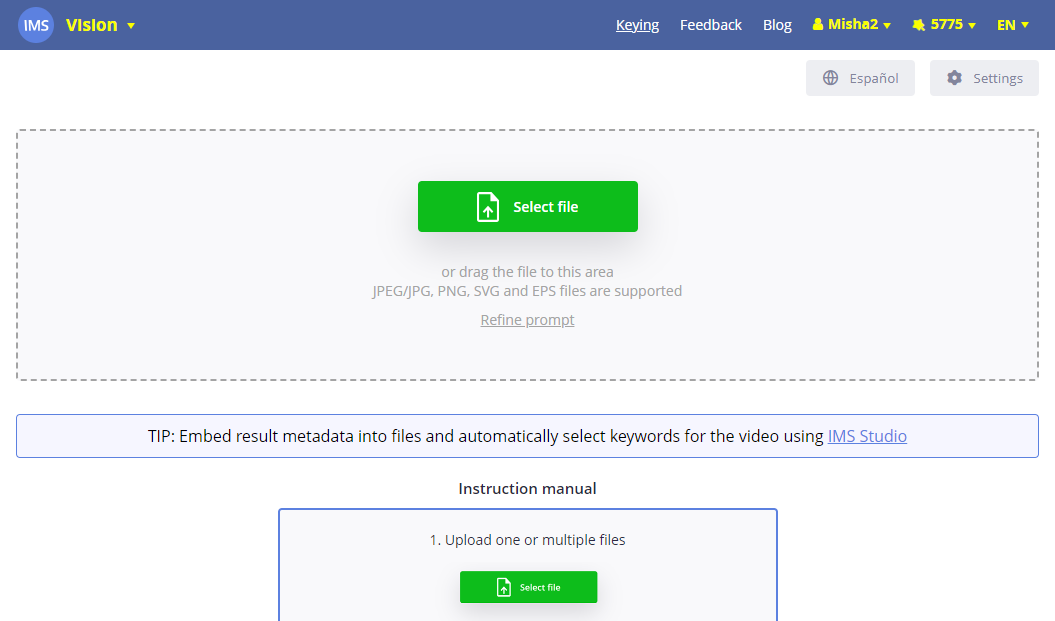
Ready! The files will be sequentially processed by the system and produce a result.
Recognition results
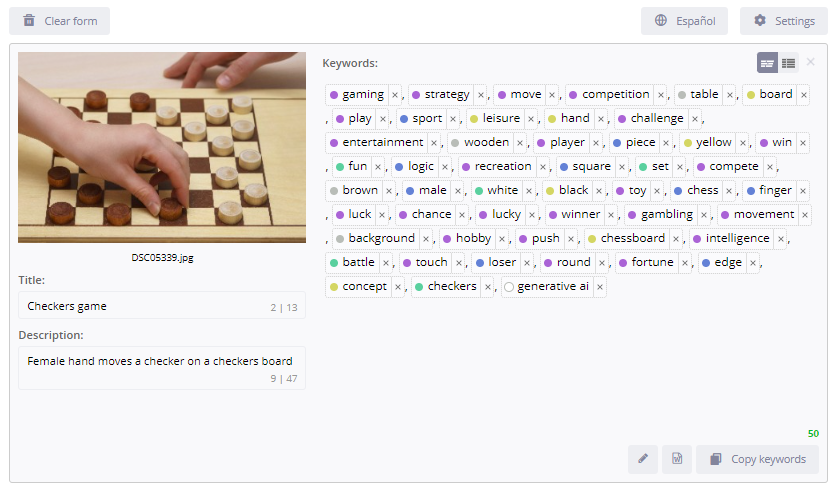
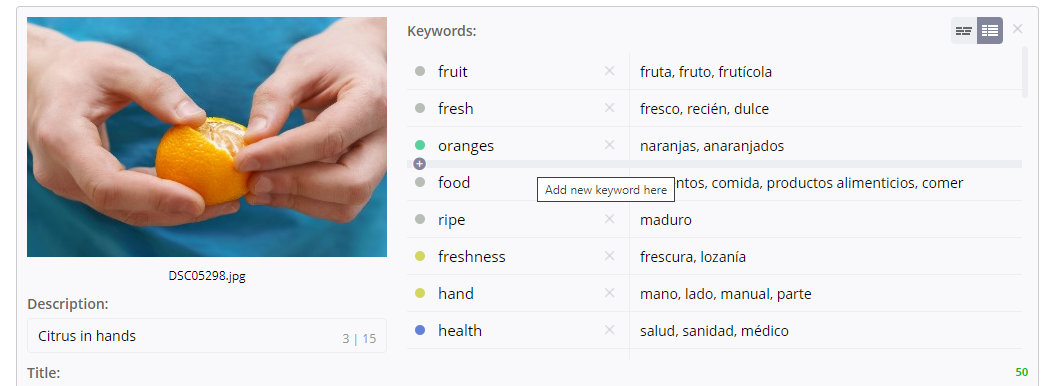
The recognition results of each of the files will be displayed next to the preview of the corresponding file. You can view the list of keywords in two modes: table view (default) and list view.
In both modes, you can edit the result: add new words, change the order, change the text of a word, or delete it. When a keyword is deleted, smart editing is activated: the service will automatically select a replacement for the deleted word. All keyword editing options can be found here. To change the default behavior, you can change the settings.
The final result can be copied to the clipboard or uploaded to a CSV file (useful when working with a large number of files). When using the service through the ImStocker Studio program, metadata can be written directly into the files
Instructional video
Editing metadata
Keyword selection
The received keywords can be edited in 2 modes: in the form of a list and a table. The table mode is convenient because you can immediately see the translation of a particular keyword. You can delete words that are not suitable in your opinion with the help of a cross. Thanks to smart editing, the program will automatically suggest new keywords, taking into account that the deleted keyword does not fit the image (can be changed using the settings. Thus, by deleting words, you refine the query and get the most appropriate keywords to describe your image)
If you want to move a word to the beginning, then in the table view, click on the arrow pointing up, or simply drag the word to the desired location. Attention, you can add your own keywords! In list mode - focus on the keyword editor and make your changes. In the table view, you need to click on the + located on the border between two words. You can also edit an existing word by double clicking on it.
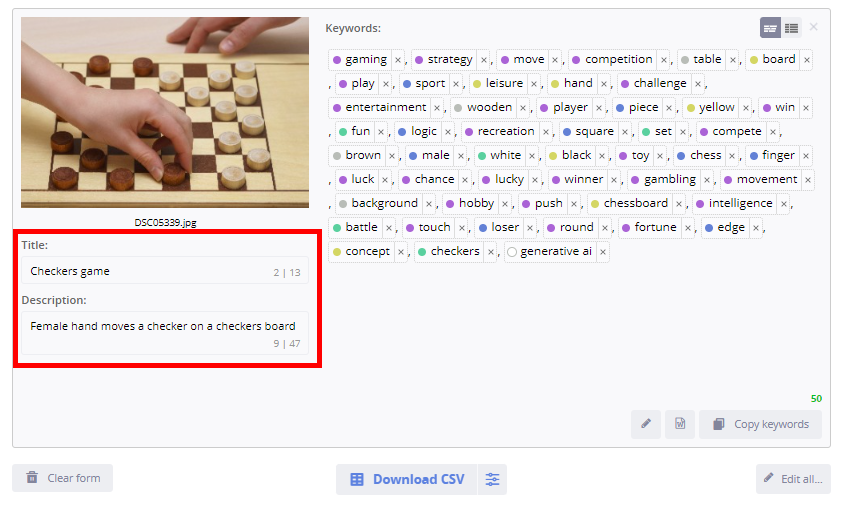
Once all the keywords are perfect for the image, you can copy them using the button in the lower right corner. And start editing the next image)
Manage your work with the tools at the top of the page. You can clear the form, as well as select the language for translation and change other settings.
But the work of Ims Vision is not limited to keywords. You can give titles and descriptions for images by yourself, and then download CSVs of all recognized files at once.
Keyword editing functions
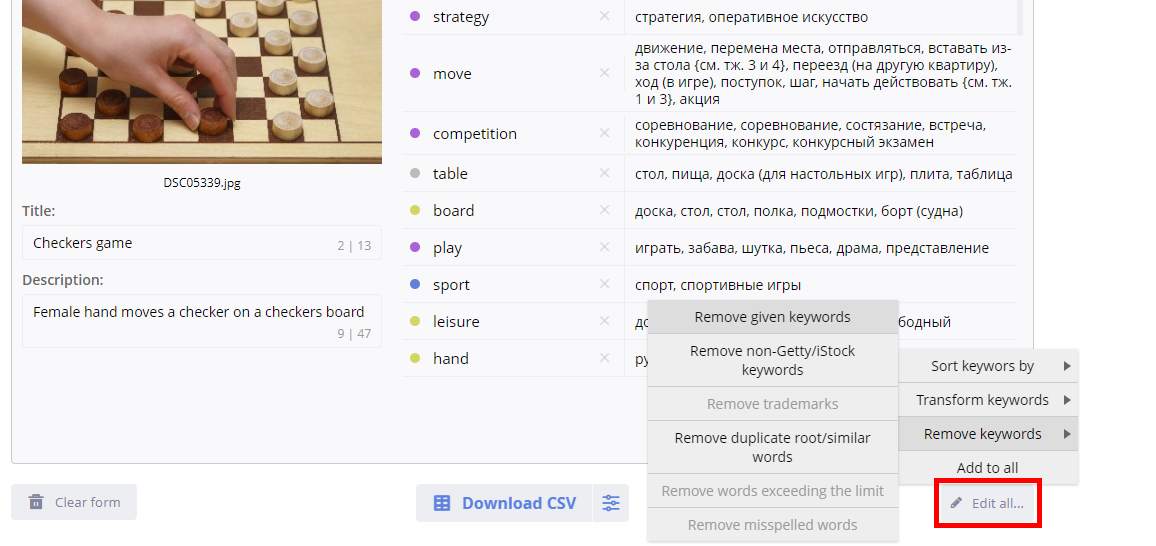
When you click on the button with the image of a pencil, a drop-down list will open where you can sort keywords by a certain attribute or randomly, transform to singular, plural, or break into words. In addition, you can remove keywords based on specific criteria (such as misspelled words or trademarks). These commands are available both for one file and for many.
Templates
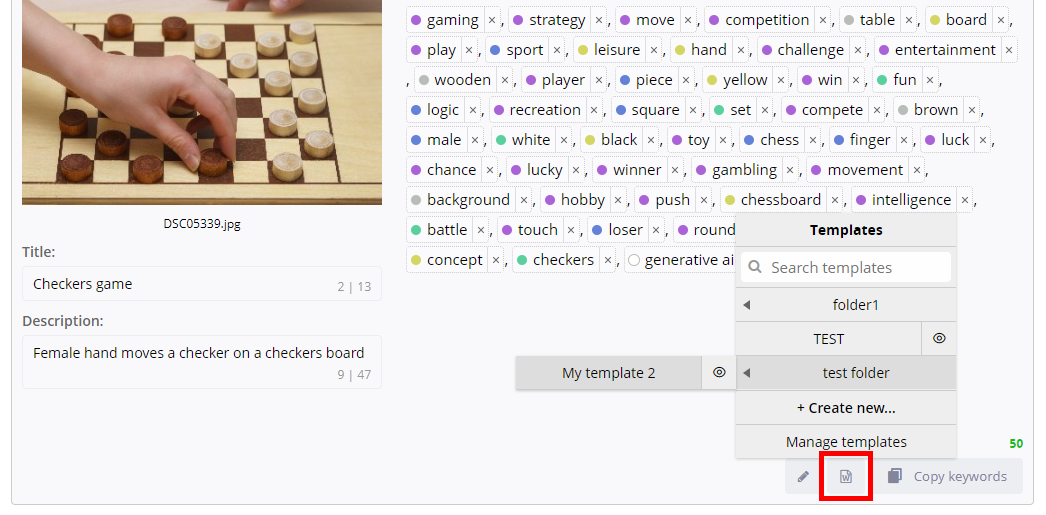
You can add frequently used keywords through the templating engine. To do this, click on the button with the letter “W” and select the appropriate one. If there are no templates yet, you can create a new one either with the help of “+ Create new…” or through the “Manage templates” dialog box.
Menu
When you hover over the “Vision” button in the menu, a drop-down list will open, where services are offered that simplify the work on microstocks:
- Keyworder. Semi-manual selection of keywords for your files
- Studio. Manage your files, prepare them for publication and upload & submit them to microstocks.
- Home. The homepage, where all ImStocker products are described and the latest news.
Also on the menu are the following sections:
- Keying. Automatic selection of selling keywords.
- Feedback. Ask a question or describe a problem - we will quickly find a solution) Answers to the most frequently asked questions can be found here or by clicking on the “FAQ” link at the bottom of the service.
- Blog. Here you will find news about updates.
- Your profile. In the case of an unauthorized user, the “Login” button. In your personal account, you can manage subscriptions, view recognition history, and much more...
- Subscriptions purchased and the number of recognitions available (more about tariffs.
Plans
Purchase
New users get 20 FREE recognitions. Information about the remaining recognitions can be found at the top of the service and in the personal account.
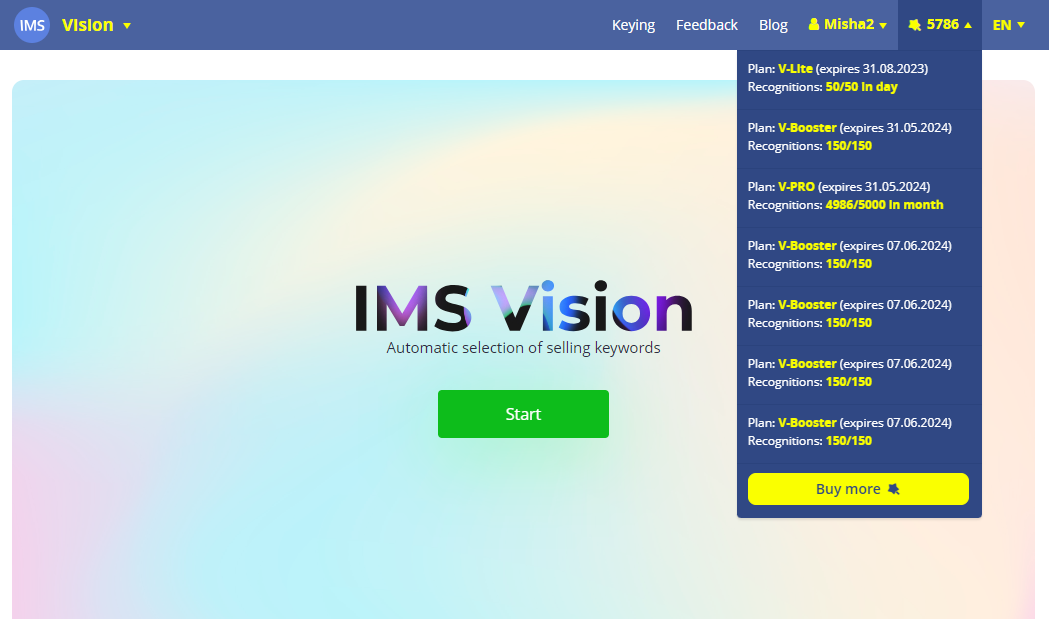
As soon as they run out, you can continue using the service by purchasing one of the options: V-Lite, V-PRO subscriptions or the V-Booster package. To do this, click “Buy more” in the menu and in your account by clicking on the “+”.
Find out more about the cost of tariffs here.
Resetting the counter of recognitions per day/per month
If you have a V-Lite plan, then you can complete 50 recognitions within 24 hours. For example, if you started work at 10:00 today and used up all available recognitions within an hour, then tomorrow at 10:00 the counter will start decreasing to 0 also within an hour.
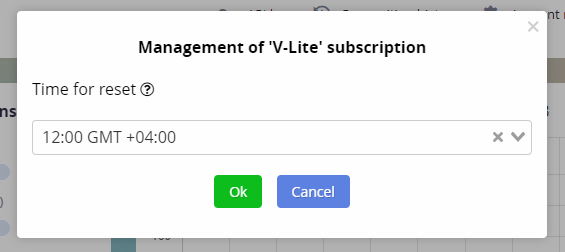
You can set the reset time manually. To do this, in your Personal Account, click on the settings button to the left of the tariff. A dialog box will open where you can select a convenient time for you. Please note that the reset time will be changed in a day.
The V-PRO tariff counter is reset on the day of the month in which the purchase was made. Thus, if the tariff was purchased on June 10, then the counter will be reset on July 10 next month
Personal account
In your personal account, you can see your subscriptions and, if necessary, purchase new ones. To do this, click “Buy more” in the menu and in your account by clicking on the “+”.
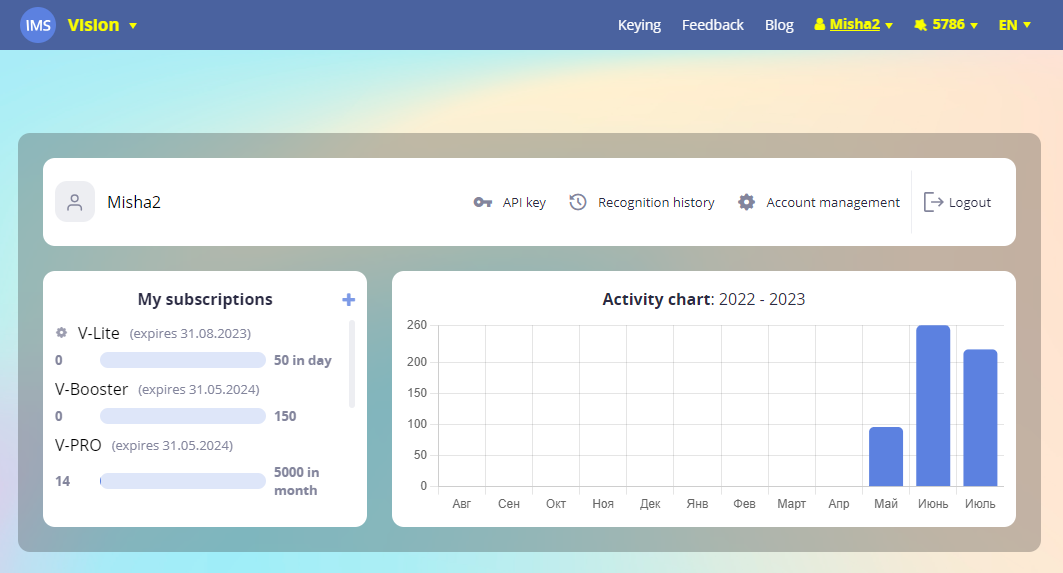
In addition, you can view your activity chart, that is, get information about how many recognitions were done at certain intervals. This feature will allow you to choose the plan that suits your needs.
Clicking on “Account management” will open your profile page with detailed information.
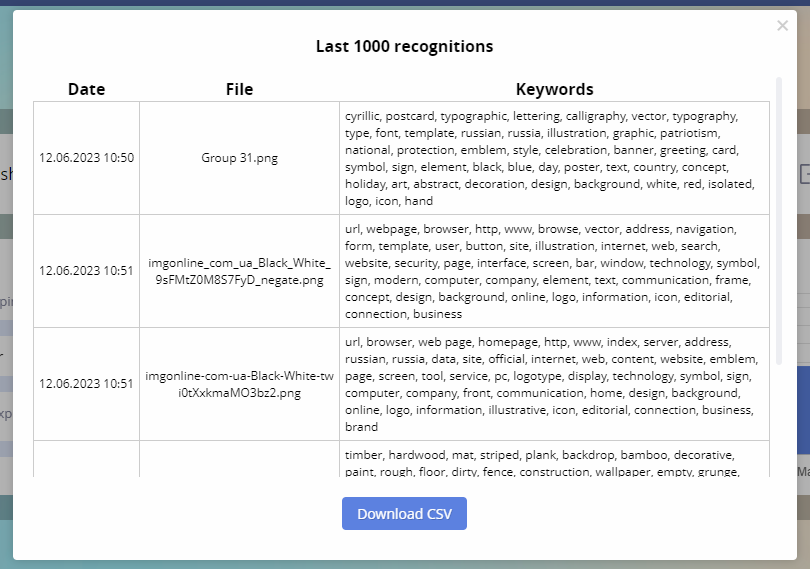
In your personal account, you can view the history of recognitions without losing sight of any recognition by clicking on “Recognition history”. You can not only view the results of past recognitions, but also upload them to CSV (click on the button below).
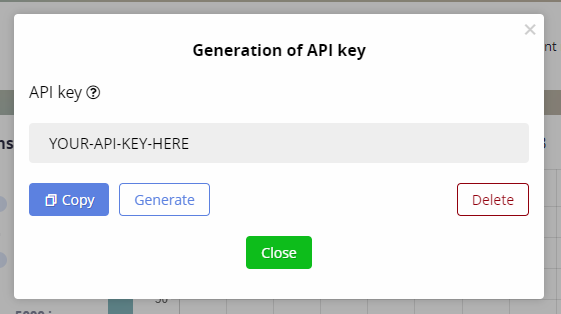
To integrate the service into third-party systems, excluding ImStocker Studio, you can generate an API key. This opportunity is available to owners of the V-PRO plan. The documentation is available at the following link.
To generate, copy or delete a key, click on “API key” and select the required action in the dialog box that opens.
To log out of your account, use the "Sign out" button.
General settings
To manage settings, click on the "Settings" button in the upper right corner. A dialog box will open, consisting of 3 sections: recognition, keyword editor and interface.
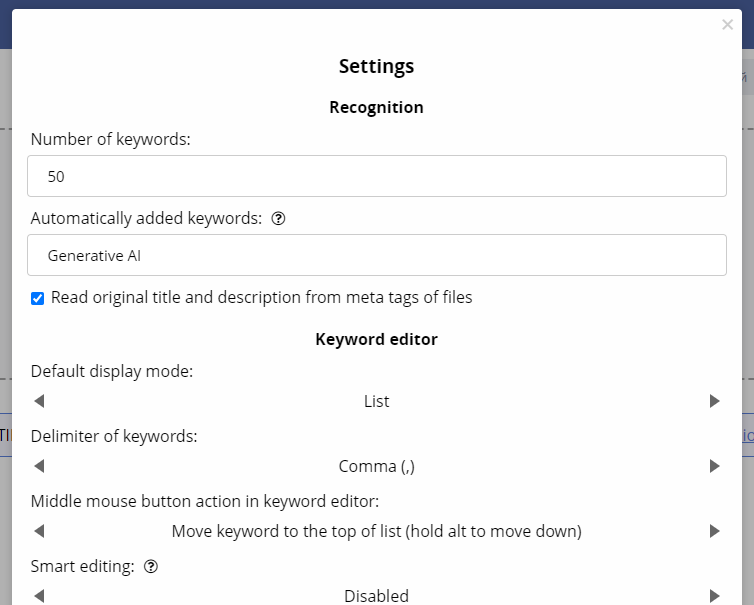
Recognition
Here you can specify the number of generated keywords, as well as automatically add the given words. This will make it easier to work with files generated by the neural network, for which you need to add tags such as “Generative AI”, “Generative”, “AI”.
If the jpg/jpeg/png file already had metadata with a title and description, then they are automatically picked up (and will be exported to CSV) when the “Read original title and description from meta tags of files” flag is set.
Keyword Editor
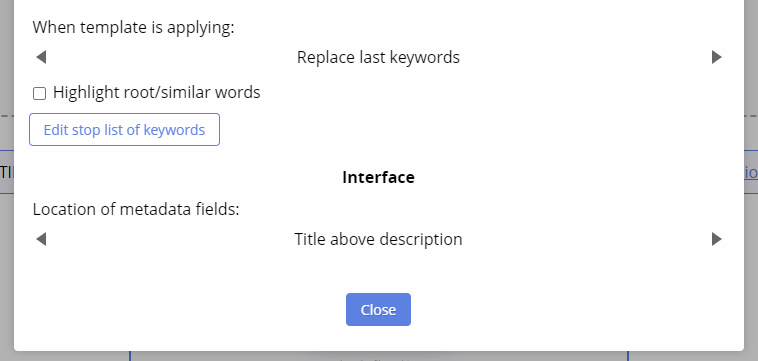
In this section, you can change the default display mode, the delimiter of keywords, the middle mouse button action in keyword editor, and more. You can select the action to be performed on the list of keywords after deleting a word.
The service has a stop list of keywords. If some word is in this list, then it will not be issued during recognition.
Interface
You can change the location of the metadata. For example, place the title above the description or vice versa.
Setting up CSV export
To set up export, click on the button to the right of the “Download CSV” button:

Here you have the following options:
- Multiple format options
- the ability to export file names without specifying the extension
- the ability to set the template for the exported file.
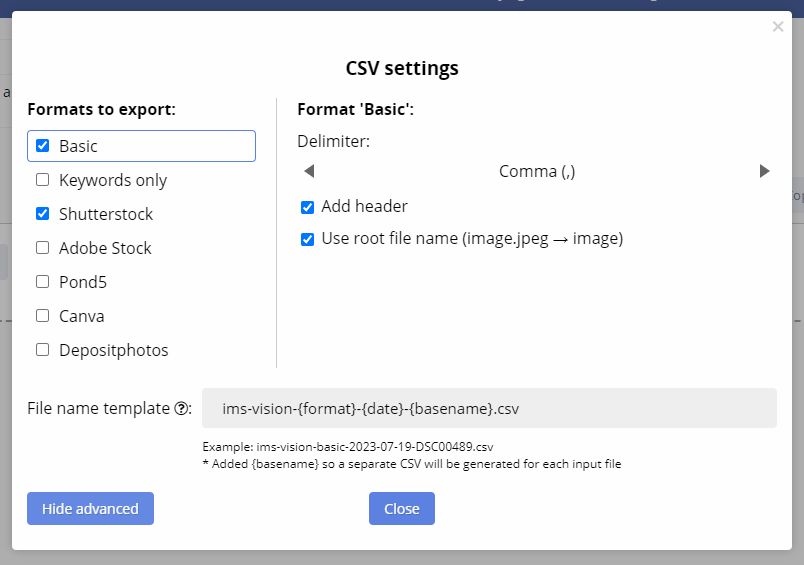
When specifying a filename pattern, use {format} for the format name, {date} for the current date, {basename} for the filename without extension. If {basename} is present in the template, then a separate CSV will be created for each input file during export.
Integration with IMS Studio
Select the files for which you want to search for keywords through the IMS Studio program and click the "Suggest keywords" button. A window will appear offering 2 services:
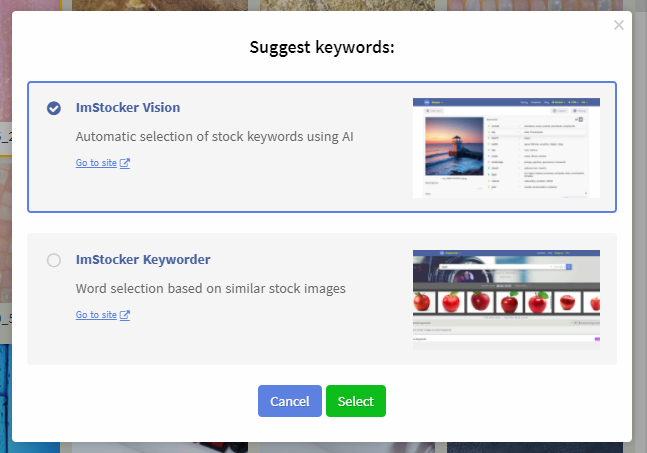
IMS Vision will automatically match your files with suitable keywords that you can change to your taste.
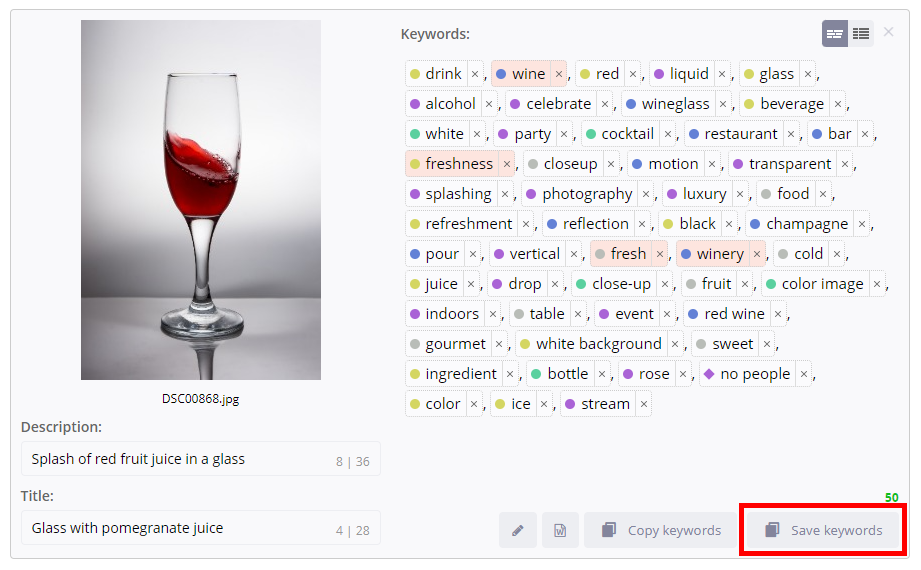
When you have finished editing the metadata, you can save your changes by clicking on the “Save keywords” button in the lower right corner. The metadata will be automatically transferred to IMS Studio.
To save all the work in one fell swoop, click on “Apply” located at the bottom, under all files. Similar to IMS Keyworder, you can choose the actions that the button will perform:
- do nothing
- save and close
- save, clear and minimize

To prevent accidentally pressing the suggest keywords button and wasting left recognitions, IMS Studio by default skips files that already have keywords, and also asks you to confirm sending files. This behavior can be changed in the program settings in the "Suggest keywords" section.
IMS Vision has video support, but only when calling the service from IMS Studio. Select a video in IMS Studio and click the button to select words. The program will automatically split the video into frames and recognize them at once.
If the video is large, processing may take longer than usual. To speed up the work, you can activate recognition only for one frame only, to do this, check the box next to the "Send only video preview" item.
RAW photo files are also supported. The program automatically converts files to jpeg format before sending them to IMS Vision.